Tuesday, January 10, 2017

Cheeseburger Soup

It snowed here last weekend. When it snows, we like to think of all the things we can cook while stuck inside. I baked two kinds of cookies, a pot of navy beans with skillet cornbread, and on day 3 of being inside, a pot of cheeseburger soup.
This soup is so simple and quick to make. It's full of veggies and flavor. And if you like bacon on your cheeseburgers, then fry some up and crumble on top so you have bacon cheeseburger soup.  I whipped up some gluten free cheddar garlic biscuits to serve with the soup. It was the perfect combo.

Cheeseburger Soup

1 1/2 pounds hamburger, browned and drained
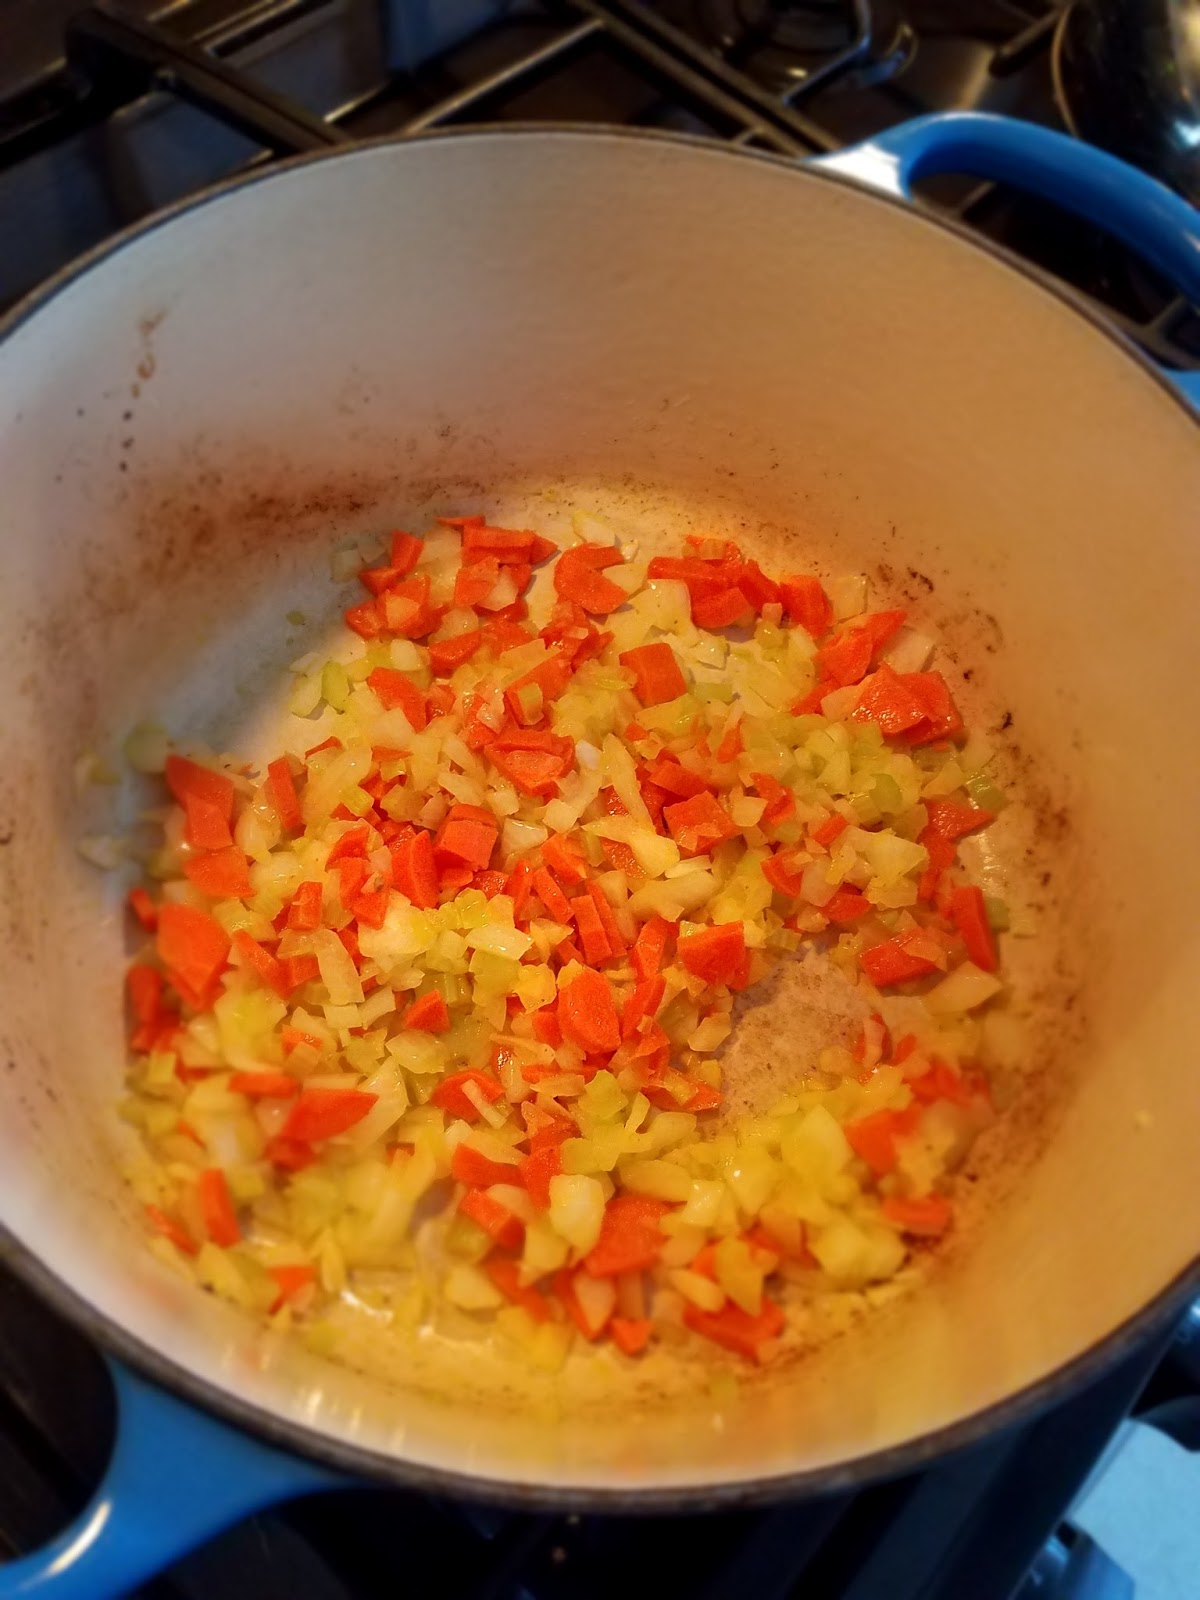
1 cup diced onion
1 cup diced carrots
1/2 cup diced celery
2 Tbsp butter
6 small-medium potatoes, peeled and diced
4 cups chicken broth (beef will work too)
1 tsp Worcestershire sauce
1/2 tsp seasoned salt
1 tsp black pepper
1 cup milk
1/2 cup heavy cream
2 cups grated sharp cheddar cheese, plus more for serving

In Dutch oven brown hamburger. Drain, and set aside. 
Add the butter to the Dutch oven and melt over medium heat, add in all the veggies and saute until tender. 
Add the broth, then the potatoes. Add in the Worcestershire, salt, and pepper. Add the hamburger back in and let simmer on medium-low until the potatoes are tender, 20 minutes or so. When the potatoes are tender, add in the milk and cream. Simmer a few more minutes then add in the 2 cups of cheddar. Let the cheese melt, taste and adjust salt and pepper as needed. Serve it up and add more cheese on top of individual servings if preferred. 


Wednesday, November 9, 2016

Mirepoix Rice, a Review, and My love of the IP

Several months ago I asked, OK I begged, for one of those fancy schmancy electric pressure cookers. A 7 in 1 electric pressure cooker. An Instant Pot.  My friend had recently gotten one and shared with me all the wonderful things she was cooking.  Admittedly,  I'm a sucker for kitchen gadgets and I just HAD to have one of these pots.
I have a stove top pressure cooker and I can't really say I didn't use it much for fear of blowing up the house. My mama used one often when I was growing up and I always felt safe, but I do know that you don't venture far away from them when in use. 
So, enter the Instant Pot (and I am not affiliated with the company at all, just sharing the one that I love to use).  I use this pot almost every day of the week. It is simple to use and easy to clean up. I'm also comfortable with leaving it on while I run out to feed the chickens and pigs. 😊


One of my favorite foods to cook in the IP is rice. We have rice at least once a week because of how good it tastes and cooks in the pressure cooker.
I really like rice from Palmetto Farms. The flavor is sweet and nutty. Of course rice is so versatile also.  Oh and their grits are the best!

I made a mirepoix rice dish in the electric instant pot that was delicious. Mirepoix is a combination of rough chopped onion, carrots, and celery. This rice was filling and comforting. You can always add in chicken, pork, or shrimp to make it a complete meal. My daughter said it reminded her of chicken and rice soup even without the chicken.
I'm sharing my recipe for the rice cooked in the pressure cooker, but you could certainly adapt it for cooking on the stove top or even baked in the oven.

Pressure Cooker Mirepoix Rice

2 Tbsp butter or oil, plus 2 more Tbsp butter (added at end)
1/2 small sweet onion, rough chopped
2 medium carrots, rough chopped
2 stalks of celery, rough chopped
2 cups rice
2 1/2 cups chicken broth
1 tsp black pepper
1/2 tsp salt

Heat the pressure cooker using the Saute function. Add the butter. Once melted, add in the onion, carrots, and celery. Cook for 3-5 minutes, stirring constantly. 
Turn pressure cooker off when veggies are just about tender. 
Next, add to the pressure cooker pot the rice, chicken broth, salt, and pepper. Give it a stir. Lock the lid and cook on Manual, High Pressure for 3 minutes. Once the pressure cooker is done and beeps, allow it to naturally release for 7 minutes. Open the lid, add in 2 Tbsp butter, stir and enjoy! 


Wednesday, October 21, 2015

Book Review and Grain Free Pumpkin Roll

We are full swing into pumpkin season. Pumpkin drinks (PSL), pumpkin doughnuts, pumpkin pie. You name it and someone will turn a recipe into a pumpkin treat.  For several weeks, I've had the privilege of reviewing the wonderful cookbook, Without Grain by Hayley Ryczek. In her book,  Hayley has done a great job of explaining what a grain free lifestyle looks like.  The how-to's, the why's, and awesome recipes--it is all in her new cook book. She includes 100 recipes that are grain free, gluten free, and wheat free. The information Hayley provides helps anyone understand this lifestyle better.
Some of my favorite recipes from Without Grain are the bagels, waffles, and crispy baked pork chops. My kids loved the pork chops! Everything I've made has been full of flavor and very satisfying. 
You can learn more about Hayley and find mouth watering recipes on her website, Health Starts in the Kitchen. And.....she's been so nice to allow me to share with you her recipe for Pumpkin Roll with Cream Cheese Filling! 
If you have ever looked at those plump, oozing with yummy filling pumpkin rolls in the store then you know they are probably filled with ingredients that you don't really want to eat. They also look a little intimidating to make.  But this pumpkin roll recipe has delicious ingredients--that you can pronounce-- like coconut sugar, almond flour, and maple syrup. And best of all, other than tasting amazing, is how easy it is to make. So I do hope you try this recipe and let me know when you do!

Pumpkin Roll with Cream Cheese Filling

For Cake:
1/4 cup blanched almond flour
1/4 cup tapioca starch
1/4 cup arrowroot starch
1/2 teaspoon baking soda
1/2 teaspoon baking powder
1/2 teaspoon ground cinnamon
1/2 teaspoon ground cloves
1/4 teaspoon sea salt
3 large eggs
1 cup coconut sugar
2/3 cup pumpkin puree
Optional: 1 cup chopped nuts, such as walnuts or pecans
Powdered sugar, for dusting

For Filling:
8 ounces cream cheese, softened
1/2 cup butter, softened
2 tablespoons honey
2 tablespoons maple syrup
1 teaspoon vanilla extract

1. Preheat the oven to 375° or gas mark 5.  Line a 15x10 inch jelly-roll pan with lightly greased parchment paper.

2. To make the cake: In a medium bowl, combine the flour, starches, baking soda, baking powder, cinnamon, cloves, and salt and mix well.

3. In a large bowl with a handheld mixer or in the bowl of a stand mixer on medium speed, beat together the eggs and coconut sugar until thick.  Add the pumpkin puree and blend until combined.  Gradually add the dry ingredients and mix until smooth.

4. Pour the batter onto the prepared jelly-roll pan and sprinkle with the chopped nuts, if desired.  Bake for 10-15 minutes until the top of the cake springs back when touched.

5. While the cake is baking, spread out a clean kitchen towel and sprinkle with powdered sugar.  When the cake is done, remove it from the oven and gently flip the cake onto the powdered sugared towel, so the parchment paper is on top, and peel off the paper.

6. Staring at the short end, roll up the towel and cake together into a jelly roll.  Set seam-side down and allow to completely cool while rolled up, about 1 hour.

7. To make the filling: In a bowl with a handheld mixer or in the bowl of a stand mixer on medium speed, beat together the cream cheese and butter until fluffy, about 2 to 3 minutes.  Add the honey, maple syrup, and vanilla and beat until smooth.

8. When the cake is completely cool, gently unroll it and spread with the cream cheese filling to the edges.  Roll it back up (without the towel) and wrap in plastic wrap.  Chill in the fridge for at least 1 hour before cutting and serving.  Dust with powdered sugar, if desired.

NOTE:  Pumpkin rolls freeze well, wrapped tightly in plastic wrap, for up to 6 months.  (Freeze it in slices so you can take out just what you need.) Allow to thaw overnight in the fridge before serving.